The Stages of Decorating a Pumpkin
Some people like to carve, other’s like to paint. No matter what you do, it’s always fun to decorate a pumpkin! So here are the tips and tricks to getting your pumpkin ready for Halloween.
First: Pick your pumpkin
This little beauty is from Green Acres Farm in Milan, Tennessee. Everybody at Cypress Magazine was given a little pumpkin to decorate for their desk.
Next: Decide on a design.
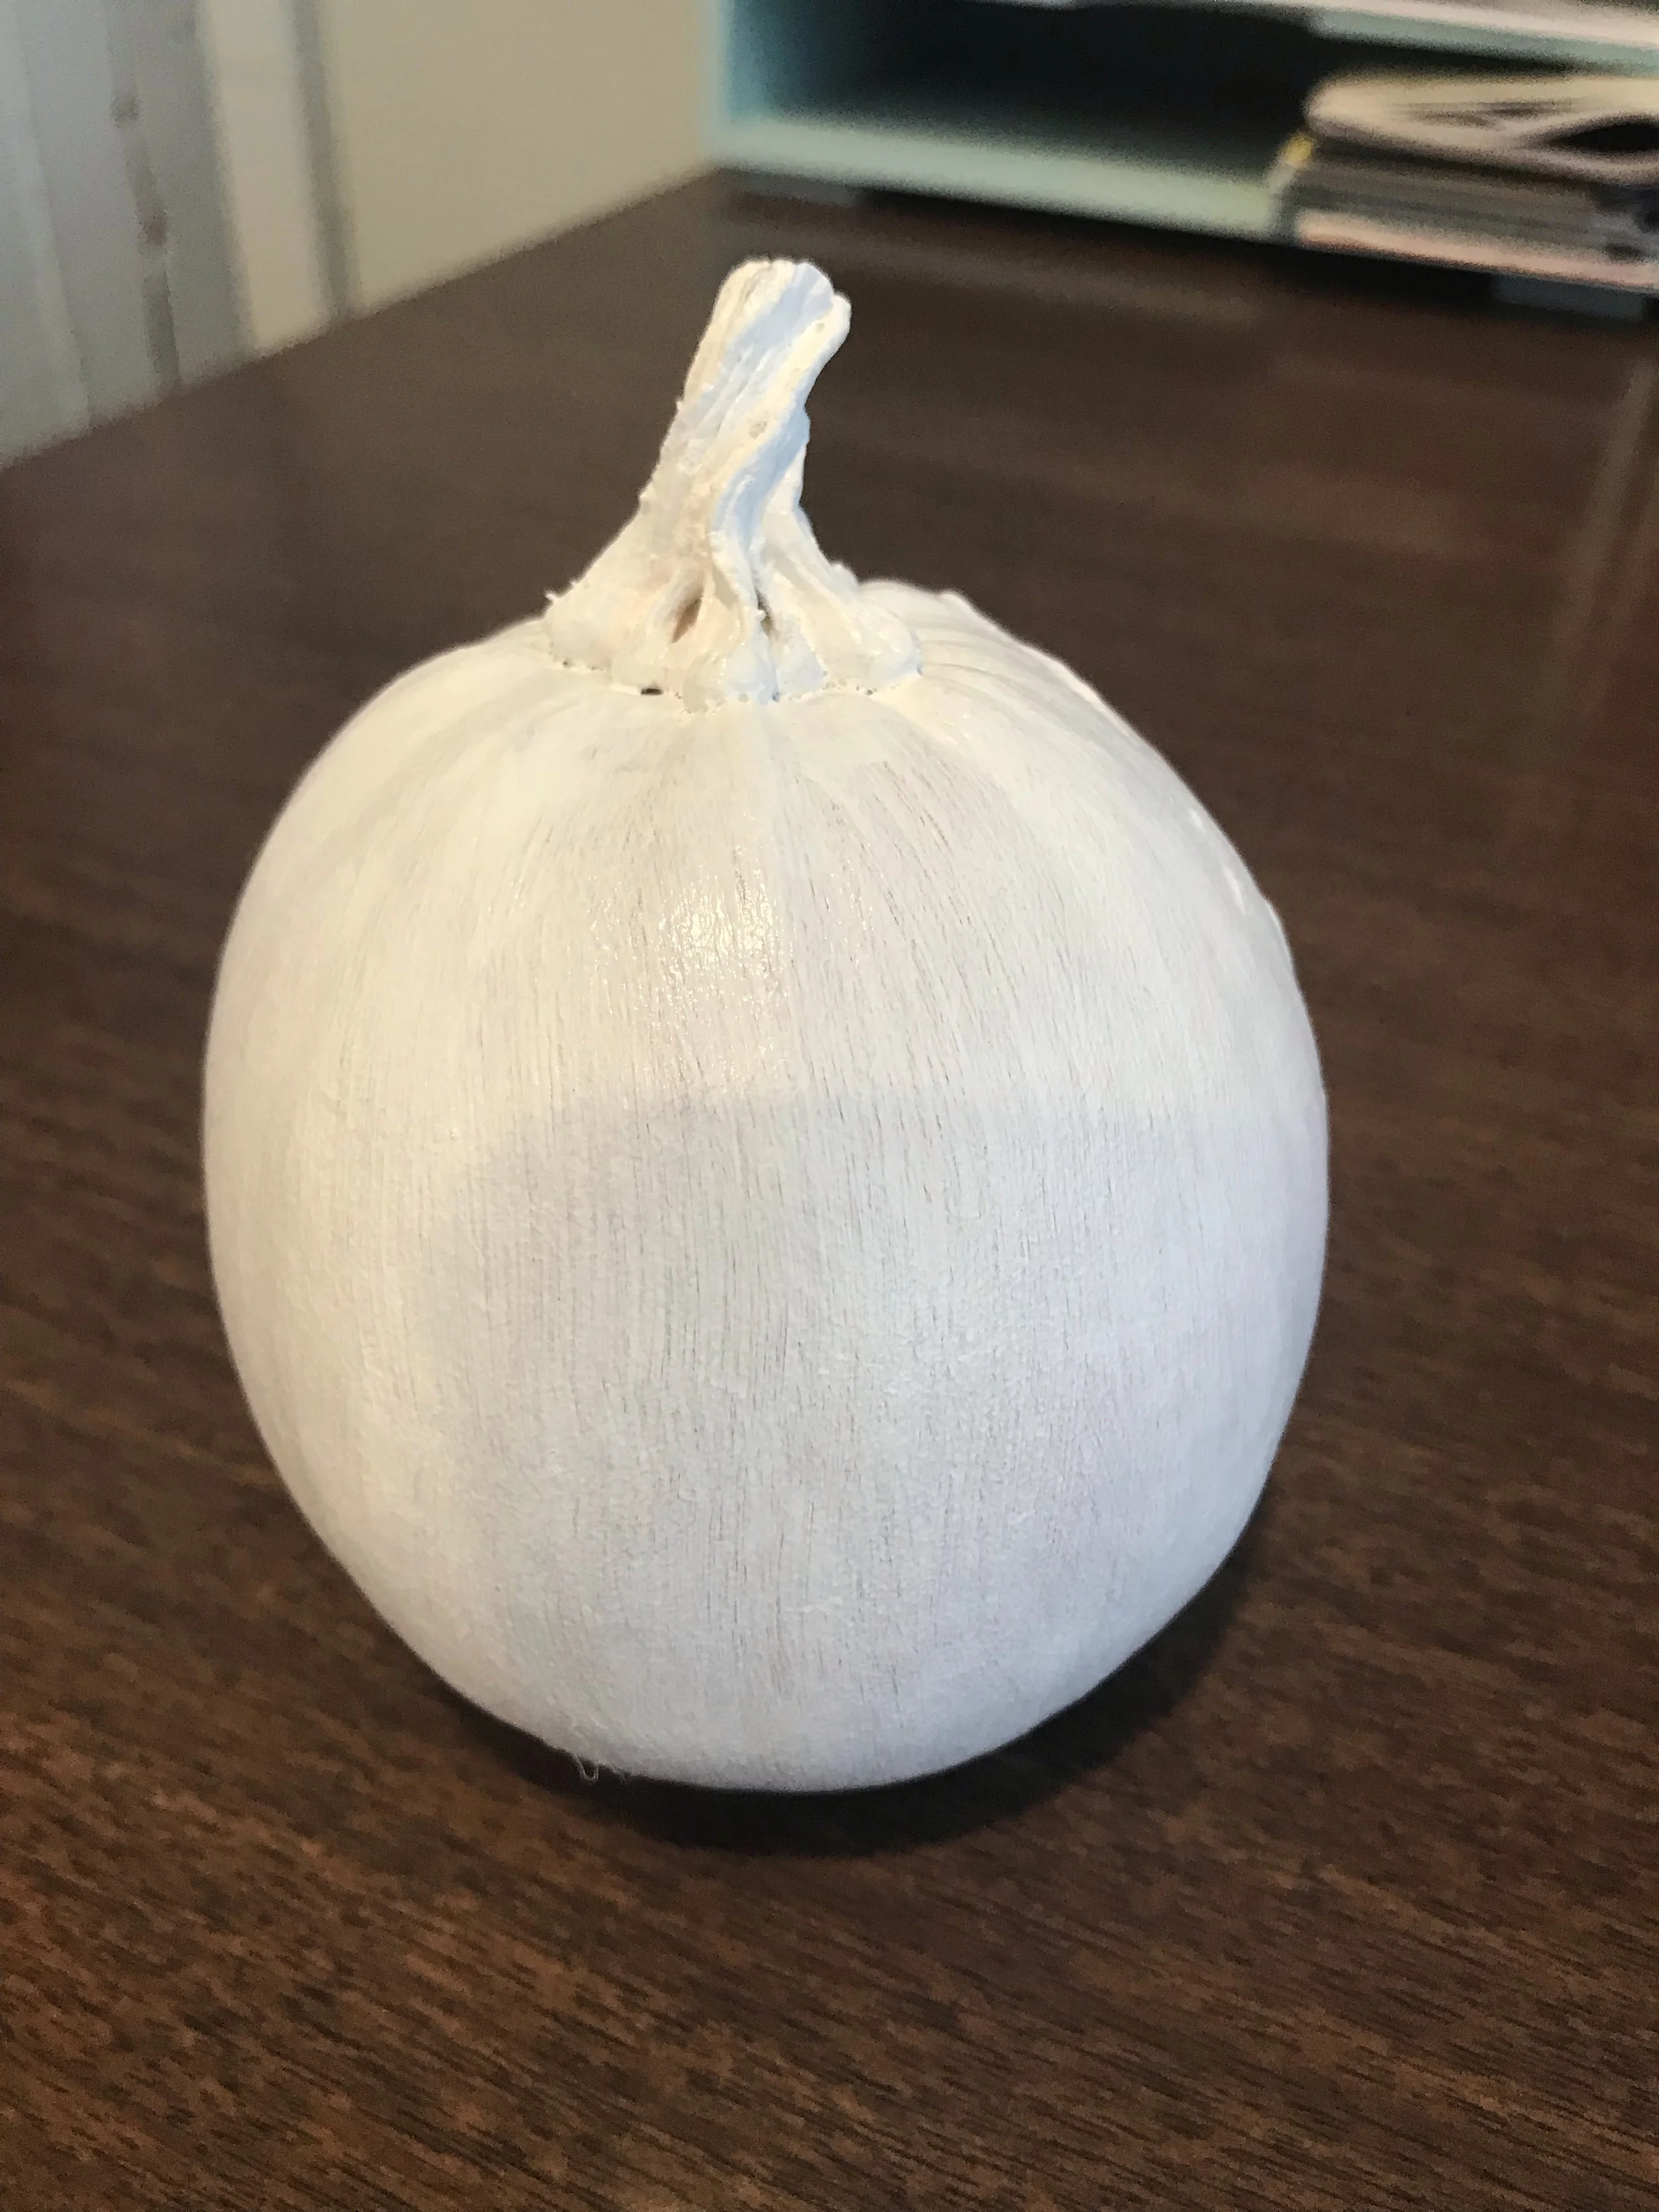
Sadly, orange wasn’t the direction I wanted to go in, so I found some white paint and gave it a couple of coats. Because the stem had already started to dry, I got a toothpick and used that to get inside of the creases.
Then: Begin your decorating!
I ended up trying a galaxy theme for my pumpkin. I used light blue, purple, and red paint, mixing each color with either each other and/or a little bit of white to get various shades. To give the colors a little sparkle, I also found some red and clear glitter glue to brush on. I also ended up finding some leftover glittery stickers from another project and added them after all the paint and glitter glue had dried.
Finally: Display it!
Here is the final result of my pumpkin decorating adventure, but that’s not all. Your friends at Cypress have decided to have a little pumpkin decorating contest. On Friday October 12th, we will be posting our decorated pumpkins for you to vote on! Happy Halloween and don’t forget to check in on Friday to vote for your favorite pumpkin!


